
I love apples straight from the tree. I won’t eat them any other way.
I love sauerkraut. Did I say love? Oh, yeah. Love.
And of course, we can’t forget sauerkraut’s faithful companion, The Dumpling.
I love Hell on Wheels. It’s my new favorite show. Too bad there are only 10 episodes in a season. And why was it filmed in Canada and not Nebraska? I could’ve just as easily played the fair-haired maiden of the west here, not there.
I love watching winter sports. Especially the Winter Olympics.
And…
I love designing invitations.
Anyone who know me knows that I usually go all out where invitations are concerned. I once stayed up till 3 a.m. putting together T-Rex invitations for Abigail’s birthday party. They were the coolest things ever. I always wonder why I spend so much dang time and money on something when I could just go out and buy $2 invites.
I suppose it’s just in me. Before I’m thinking of the decorations and food and games and fun, I’m thinking of the invitations. In fact, I’m thinking of invitations right now. I just had this crazy idea for an OREO invitation where the top and bottom pieces actually screw apart to reveal the party invite inside the center. {not an actual OREO you crazies. a paper one.}
Which brings me to Project #22. THE MUMMY INVITATION.
I had this idea last year for a fictitious party I was throwing. Emma didn’t appreciate being the host of a fake party for fake people who would never come, but she got over it eventually. Although I didn’t have to spend a dime on the party, the invitation was very costly at about $3/piece. Want to know how I did it? Here you go!

This is the front:


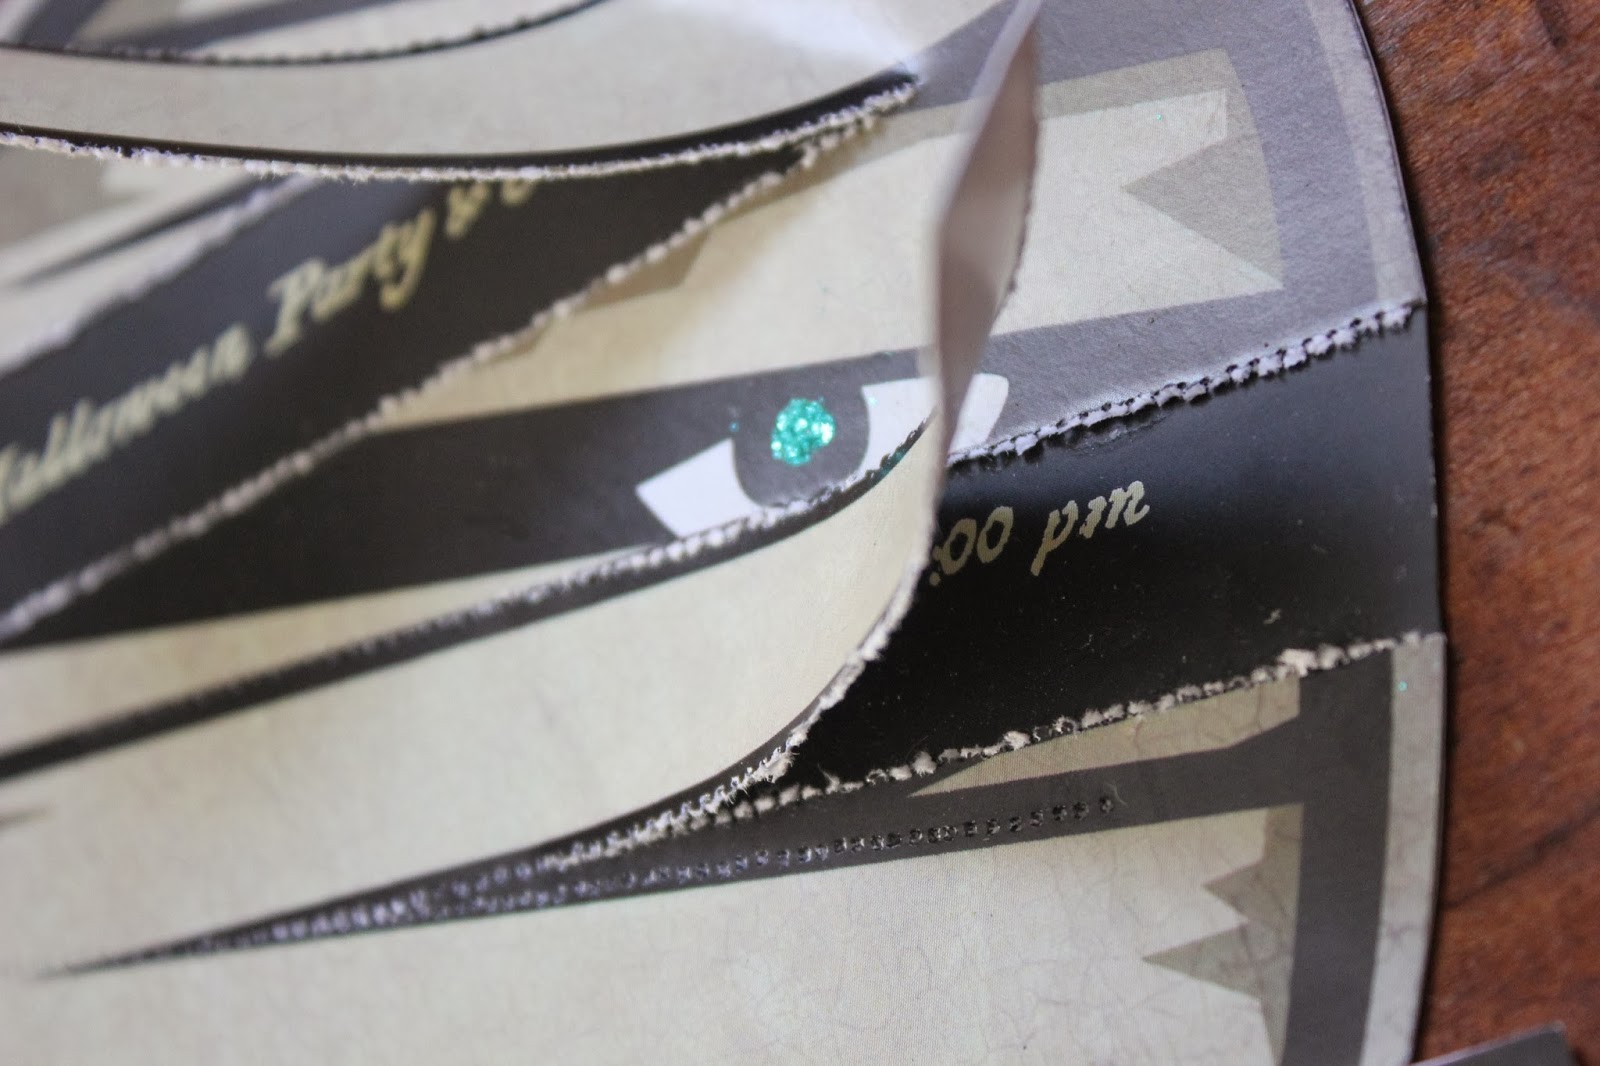
Step 2: Don’t cut them out just yet. First you need to perforate the 4 “wrap strips” using a sewing machine without thread. Stop about 1" away from the edge. We don’t want our Recipient to think Mummy is a pickle card and tear the strips completely off.
Step 3: Line the front piece over the back piece. Here’s the tricky part {there’s always a tricky part!} Glue the 2 pieces together, and glue it well, but DON’T glue the area where the strips are! Cut out the shape and you’re done!

For Recipient: Carefully pull back the strips to reveal messages.


What kid in their right mind wouldn’t come to this party?!?
No comments:
Post a Comment